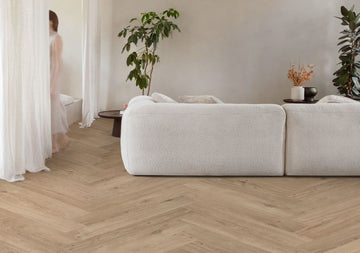
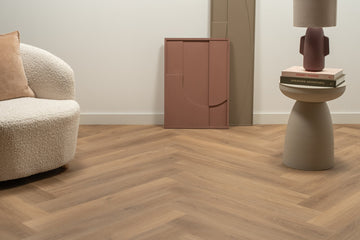
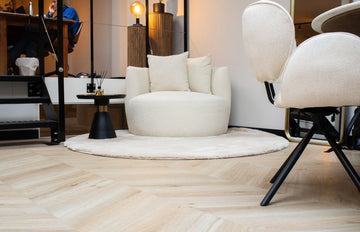
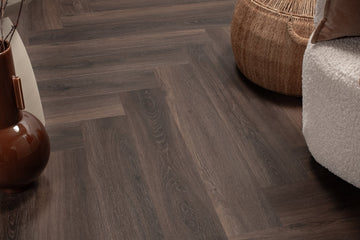
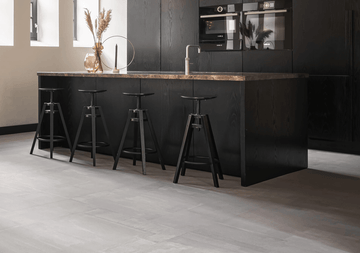
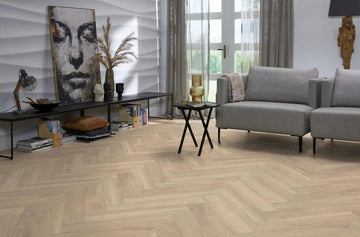
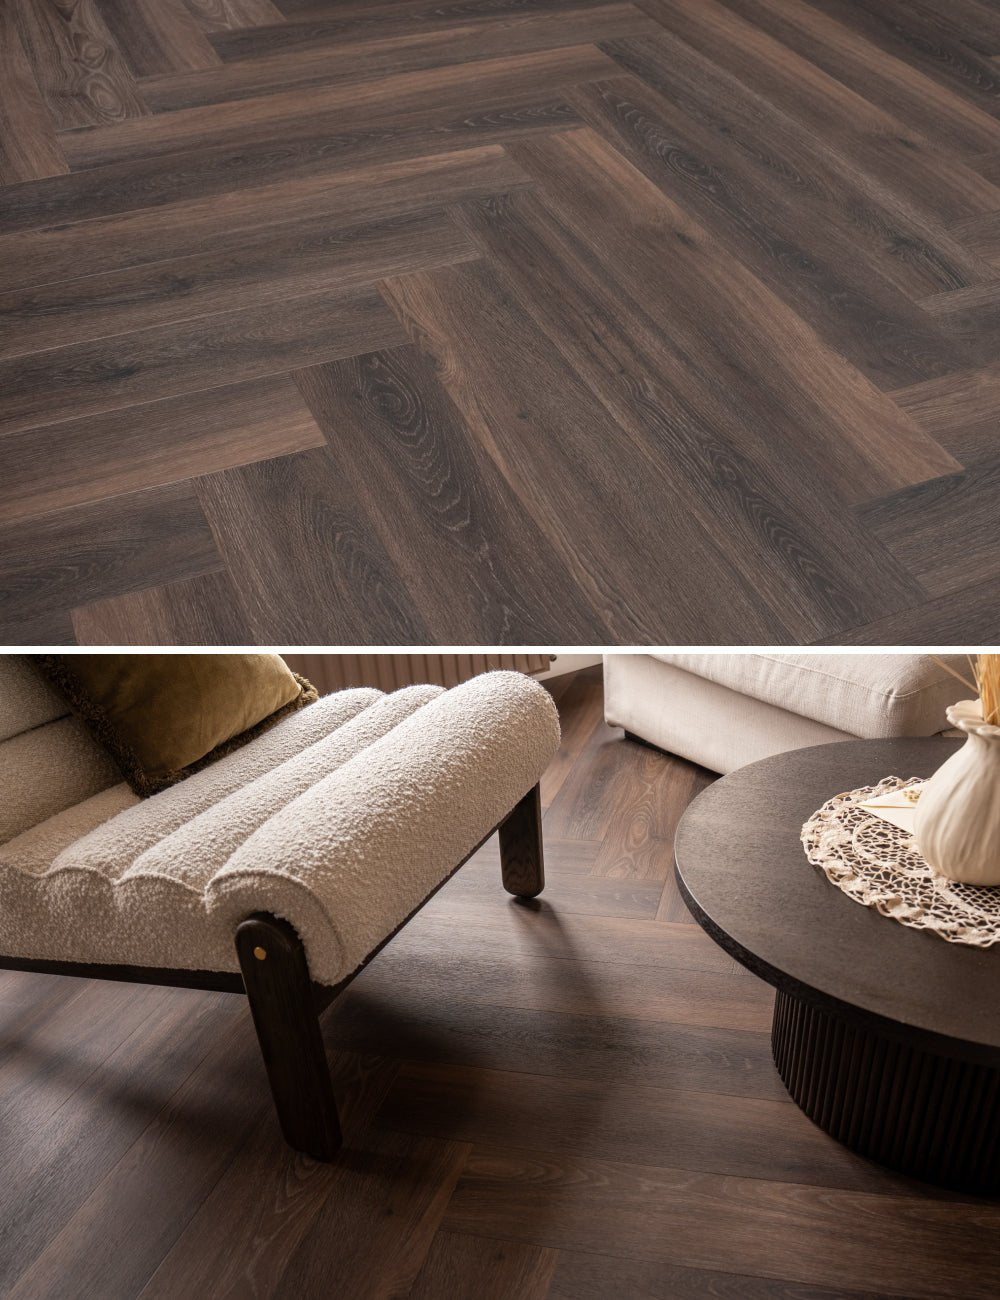
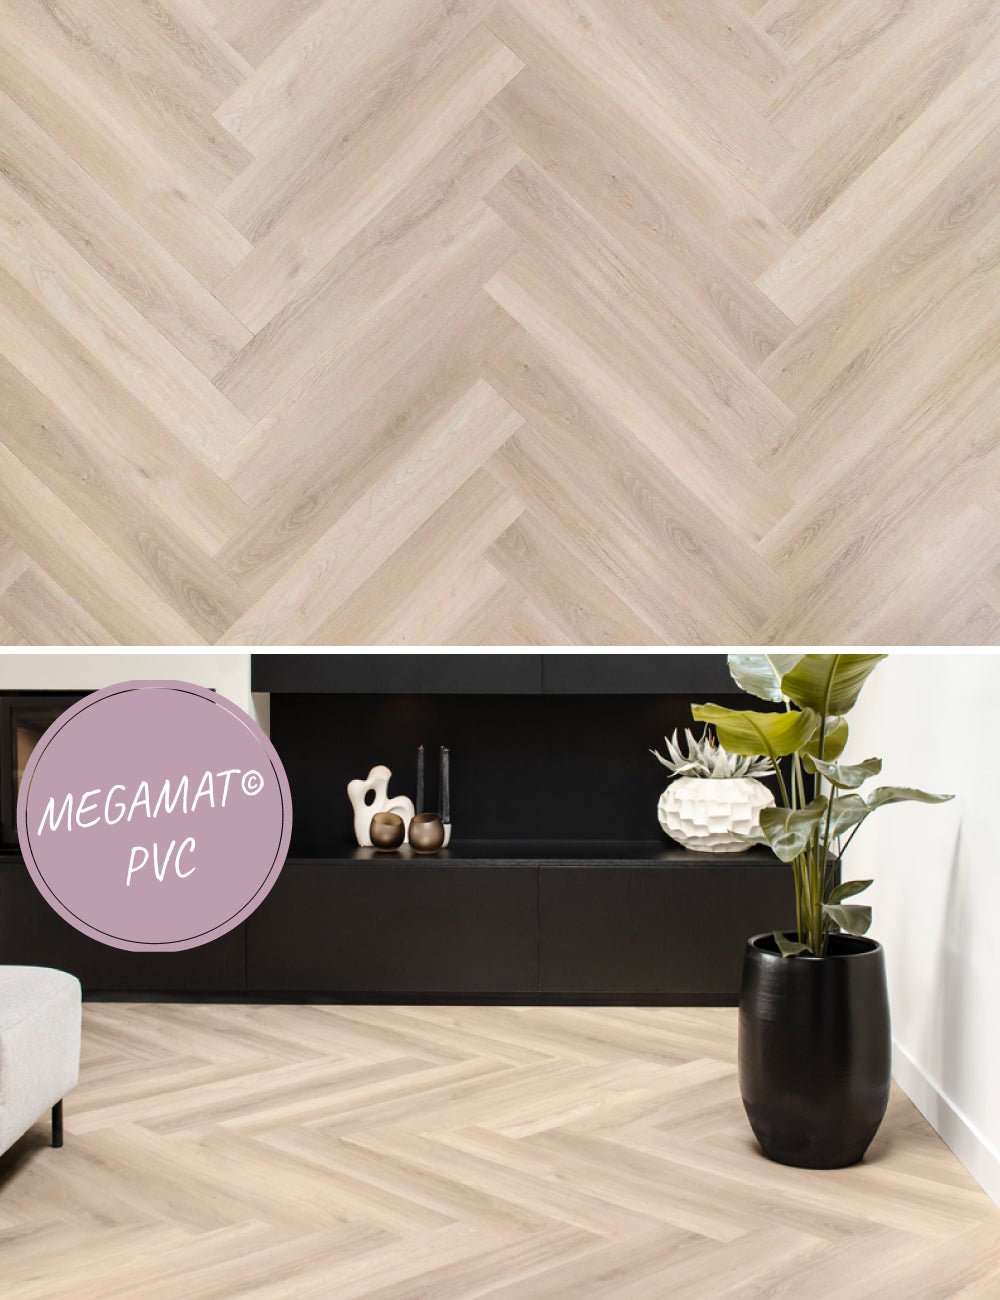
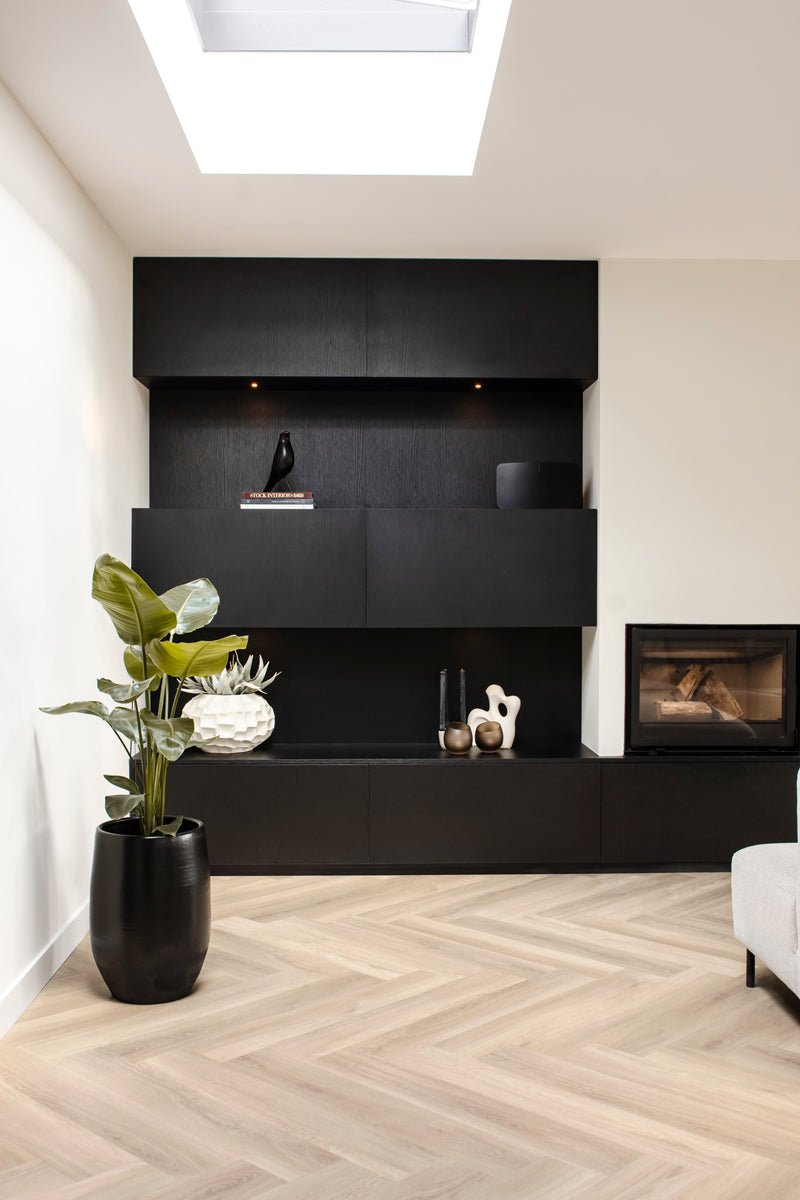
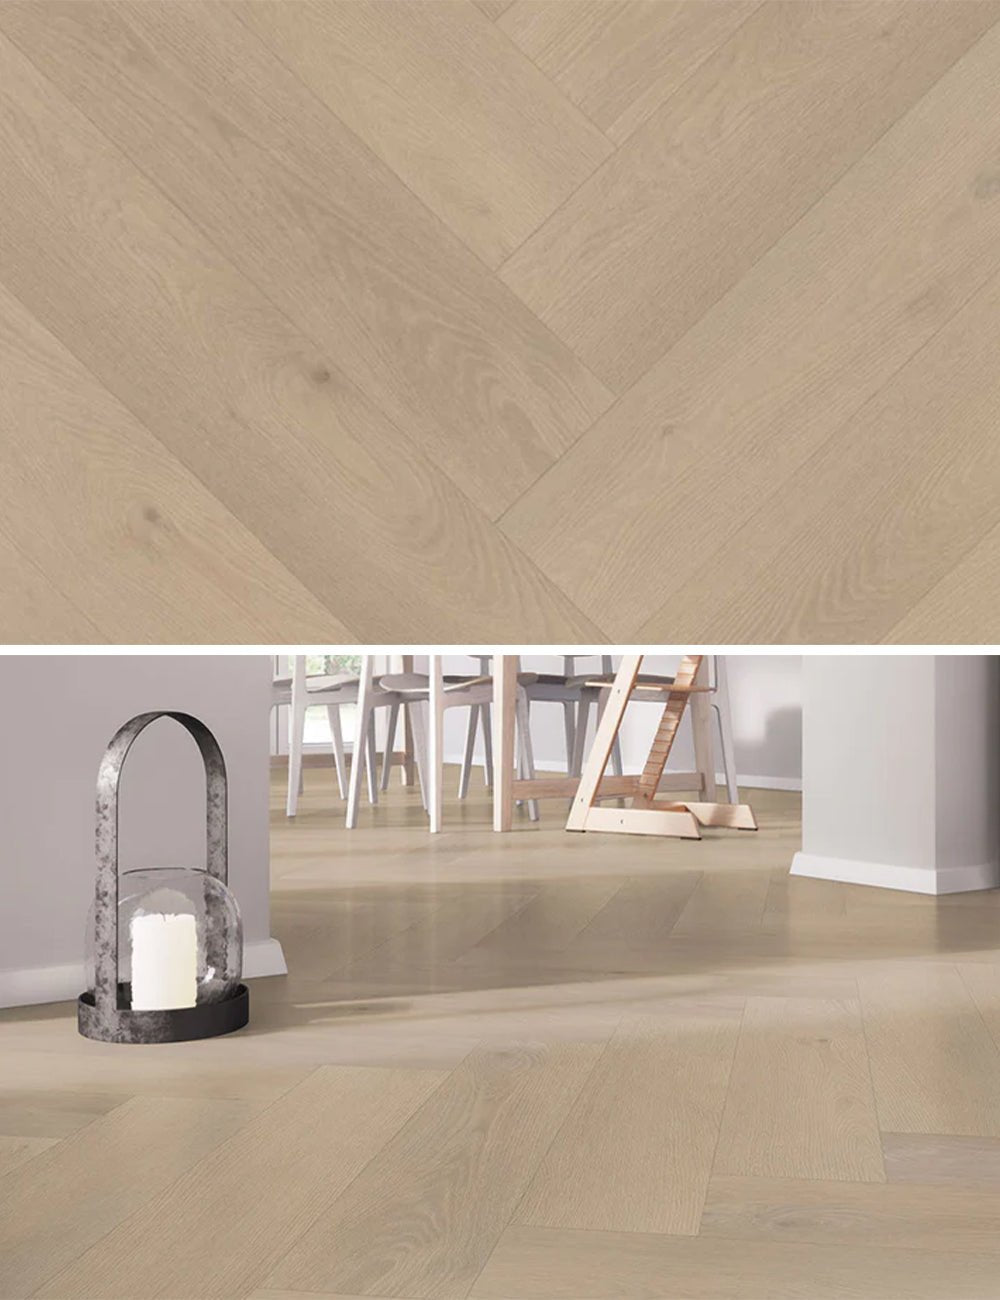
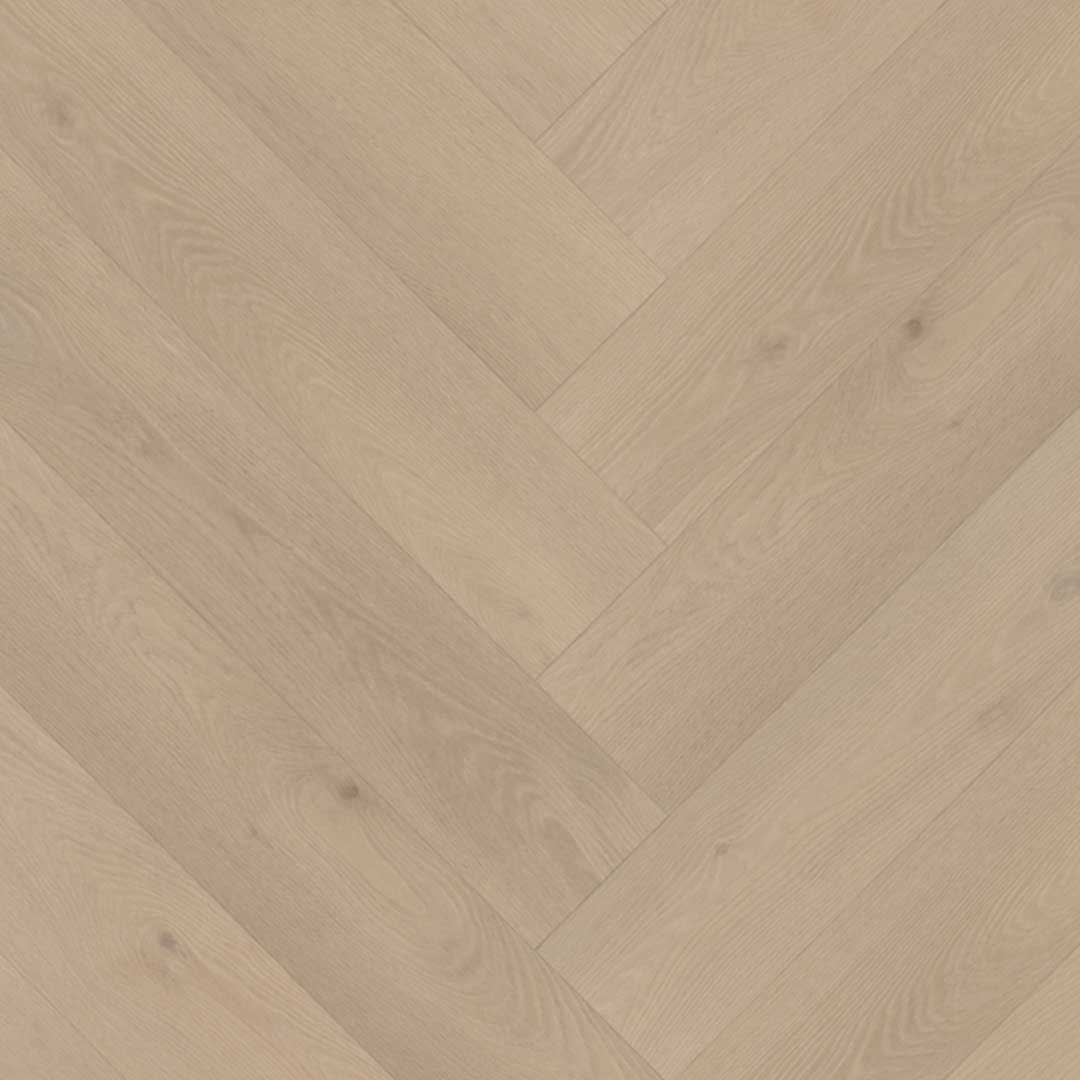
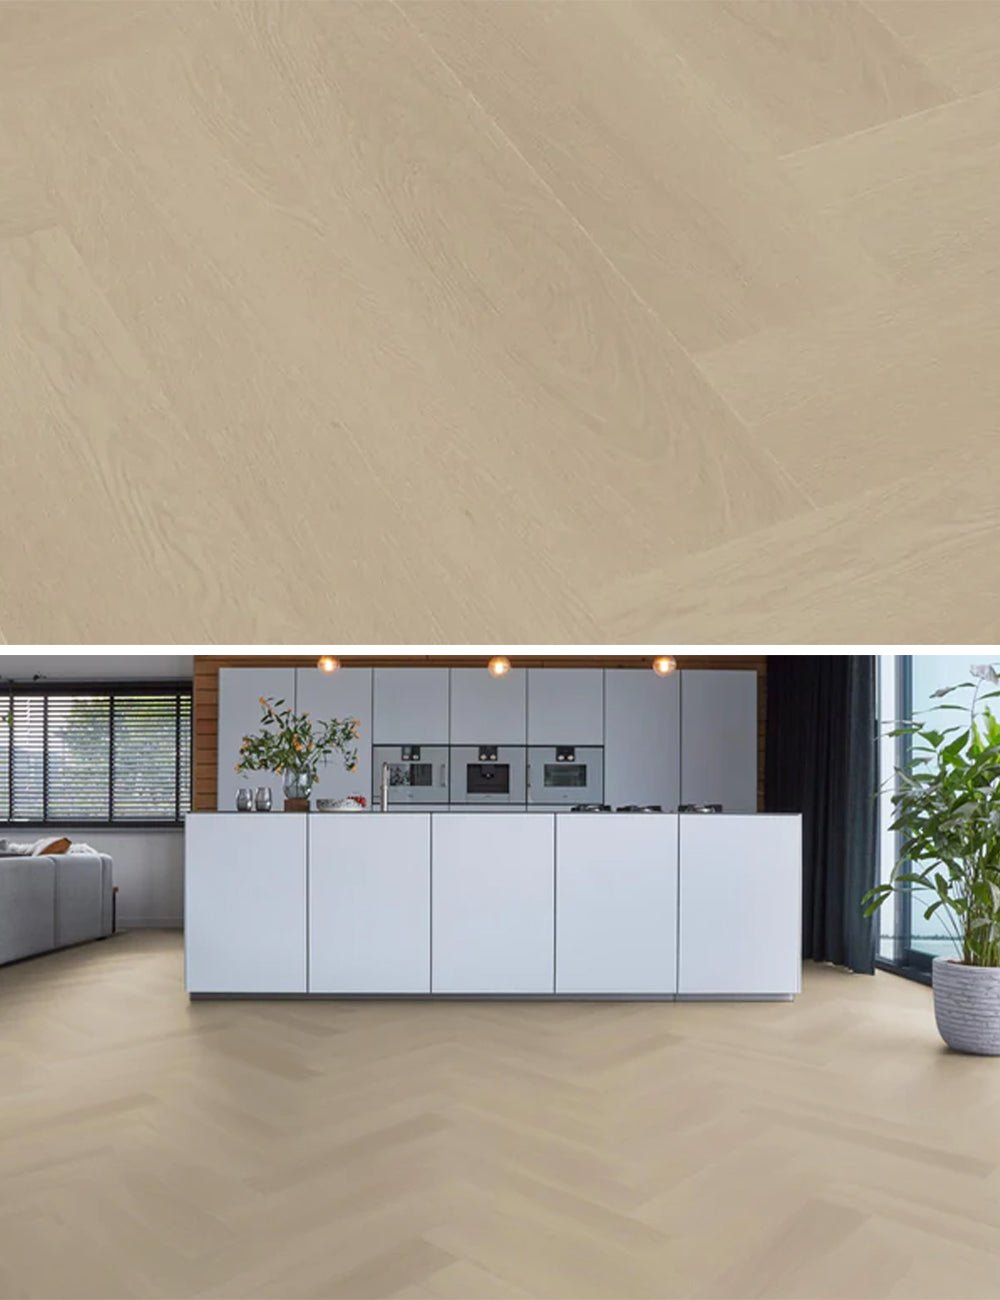
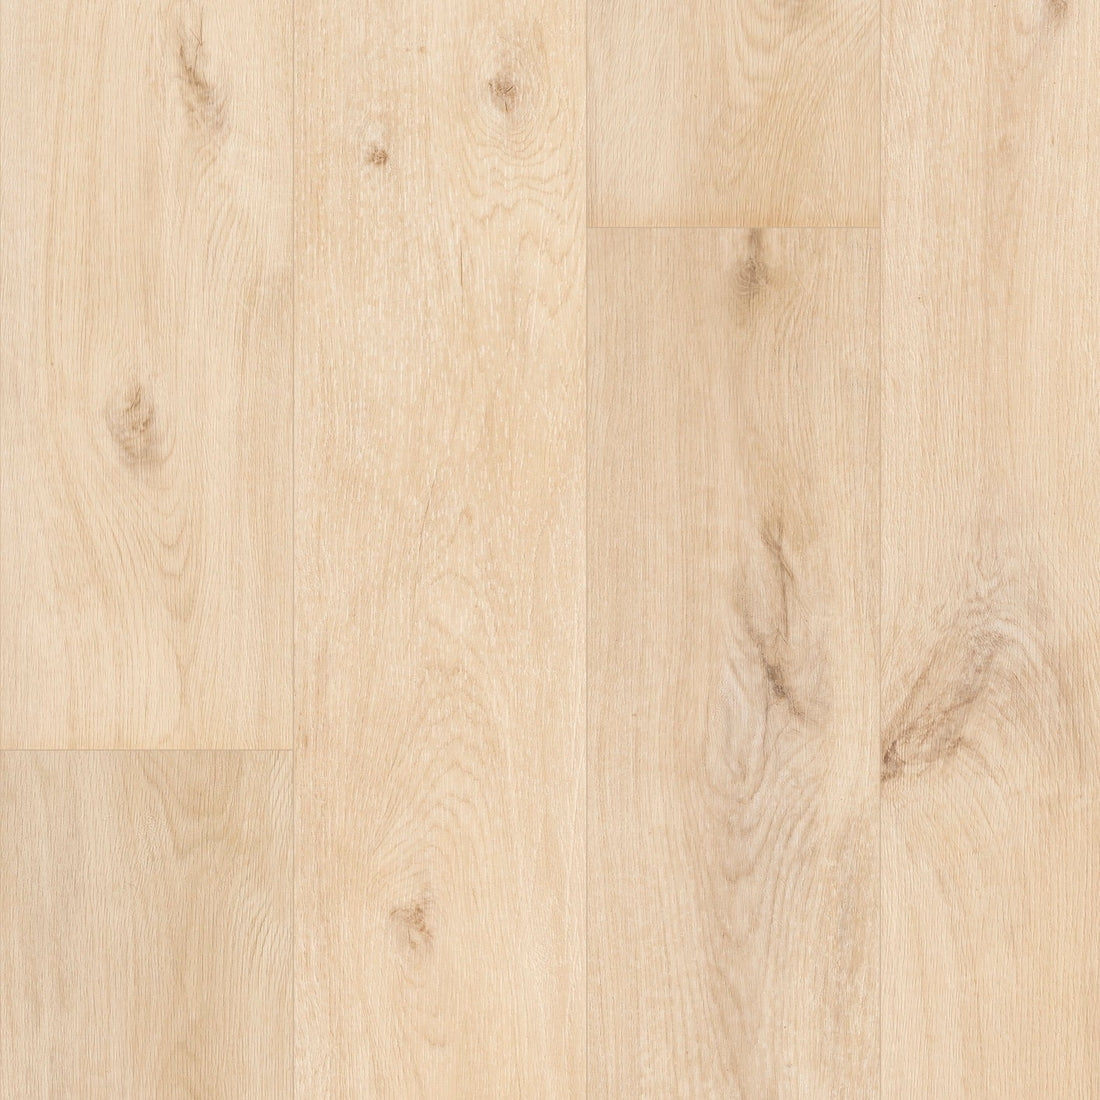
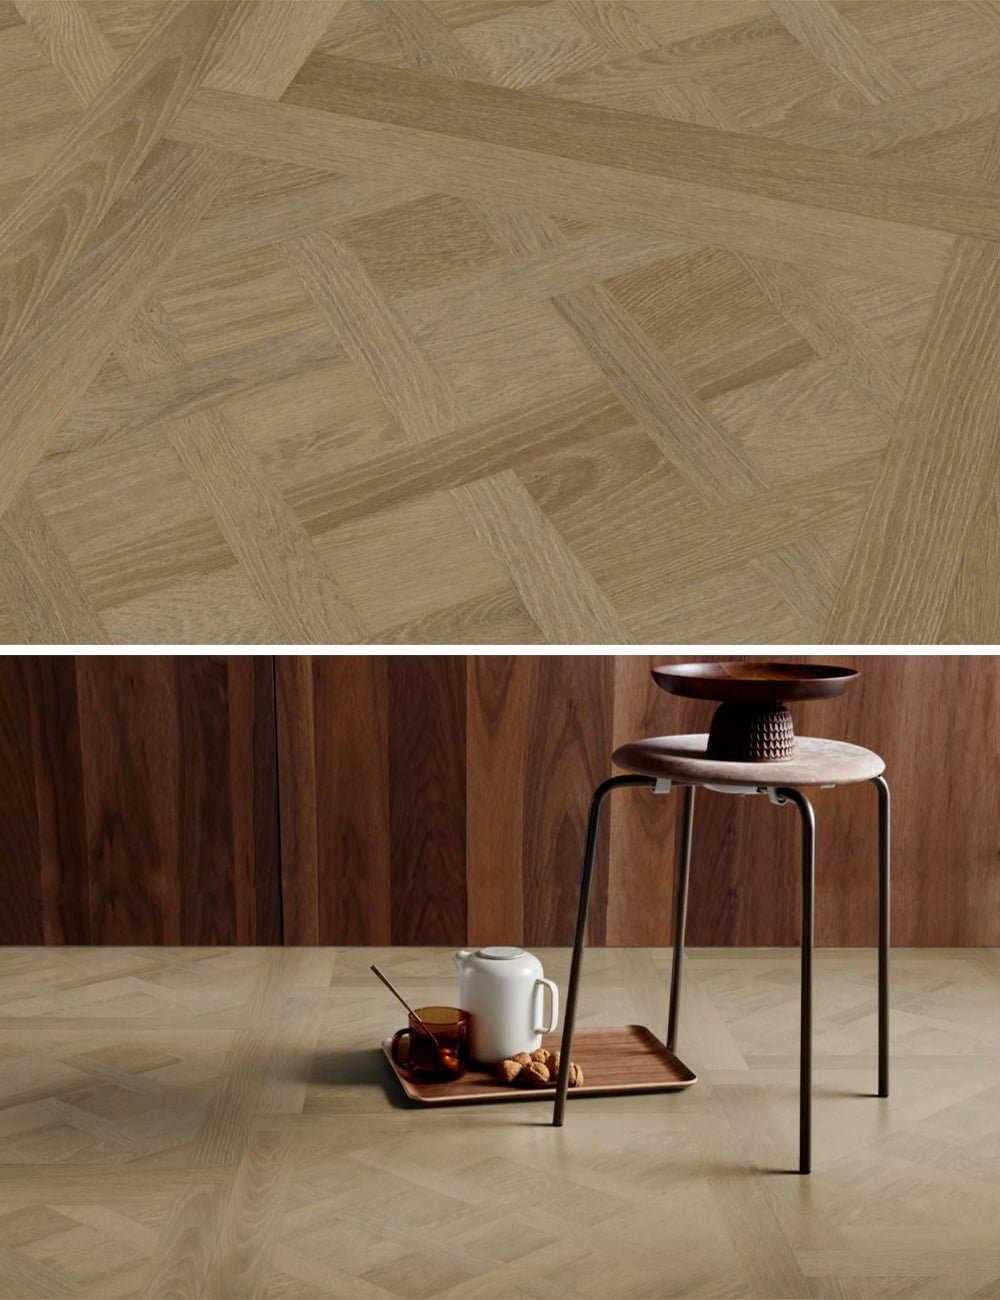
A click PVC floor has become a popular choice among homeowners and interior designers due to its durability, versatility and easy installation process. Laying a click PVC floor[012753 012752] can be a rewarding DIY activity, provided you follow the right steps and pay due attention to preparation. In this blog we will guide you step by step in laying a click PVC floor, so that you can approach the process with confidence.
1. Preparation
Before you start laying the click PVC floor, it is of essential to make the right preparations. This includes measuring and preparing the subfloor, collecting the right tools and acclimatizing the floorboards.
- Measure the room carefully: Make sure you have accurate measurements of the room, including any cutouts for doors and obstacles. This will help you determine the right amount of click PVC floorboards you need.
- Check the subfloor: The subfloor should be clean, dry and flat. Remove any unevenness, dust, dirt or old carpeting. Repair any damage to the subfloor before starting installation.
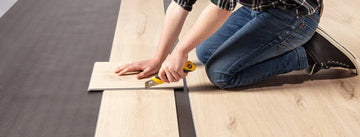
- Gather the necessary tools: Make sure you have all the necessary tools at hand, such as a tape measure, pencil, saw, knee pads, rubber hammer, and a click PVC floor installation kit. With click PVC it is often also possible to use a stanley knife instead of a saw.
- Acclimatize the click PVC floorboards: Let the floorboards acclimatize for at least 48 hours in the closed packaging in the room where you are going to install them. This helps the floorboards adapt to the temperature and humidity conditions of the room.
2. Installatieproces
Now that you have made all the preparations, you can start laying the click PVC floor. For a smooth installation, follow these steps:
- Step 1: Install a moisture barrier (if necessary): Depending on the subfloor and the humidity conditions of the room, it may be necessary to install a moisture barrier to protect the click PVC floor from moisture.
- Step 2: Lay the first row of floorboards: Start in a corner of the room and place the first row of click PVC floorboards with the dental floss facing the wall. Be aware of an expansion joint along the edges.
- Step 3: Cut the floorboards to size: Measure the required length of the last floorboard in the first row and cut it to size. Use a saw with fine teeth and make sure that the cut side points to the wall.
- Step 4: Place the second row of floorboards: Start the second row with the remainder of the last floorboard of the first row. Place the floorboards by sliding the short side diagonally into the previous row, then press them down to click them firmly together.
- Step 5: Repeat the process: Continue laying the rows of floorboards by sliding the floorboards together at an angle and pressing down to lock them. Be sure to alternate the floorboards and create a pattern that looks natural.
- Step 6: Cut floorboards at the last row: When you get to the last row, measure and saw the floorboards to size. Use a stop block and rubber hammer to gently tap the floorboards into place.
3. Finishing and maintenance
Once you have laid all the floorboards, it is time to apply the final finishes and take care of the maintenance of your click PVC floor.
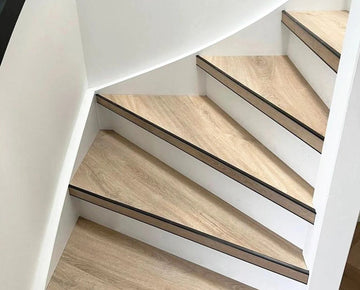
- Install skirting boards or transition profiles: Place baseboards along the walls to cover the expansion joint and create a neat finish. Use transition profiles when transitioning to adjacent floor coverings.
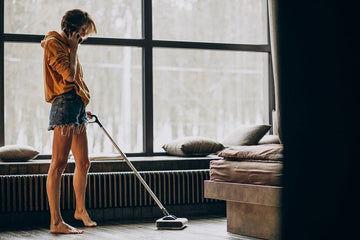
- Clean and maintain the floor: To keep your click PVC floor in optimal condition, vacuum regularly to remove dust and dirt. Use a damp mop with a mild detergent to clean the floor. Avoid harsh chemicals and abrasive materials that can damage the floor.
Preparation is key
Laying a click PVC floor is an accessible project for do-it-yourselfers who are looking for a durable and attractive flooring solution. With the right preparation, tools and a step-by-step approach, you can get started with confidence. Follow the instructions carefully, take the time to accurately cut the floorboards to size and ensure a neat finish. That way you can enjoy a beautiful click PVC floor in your home for years to come.


