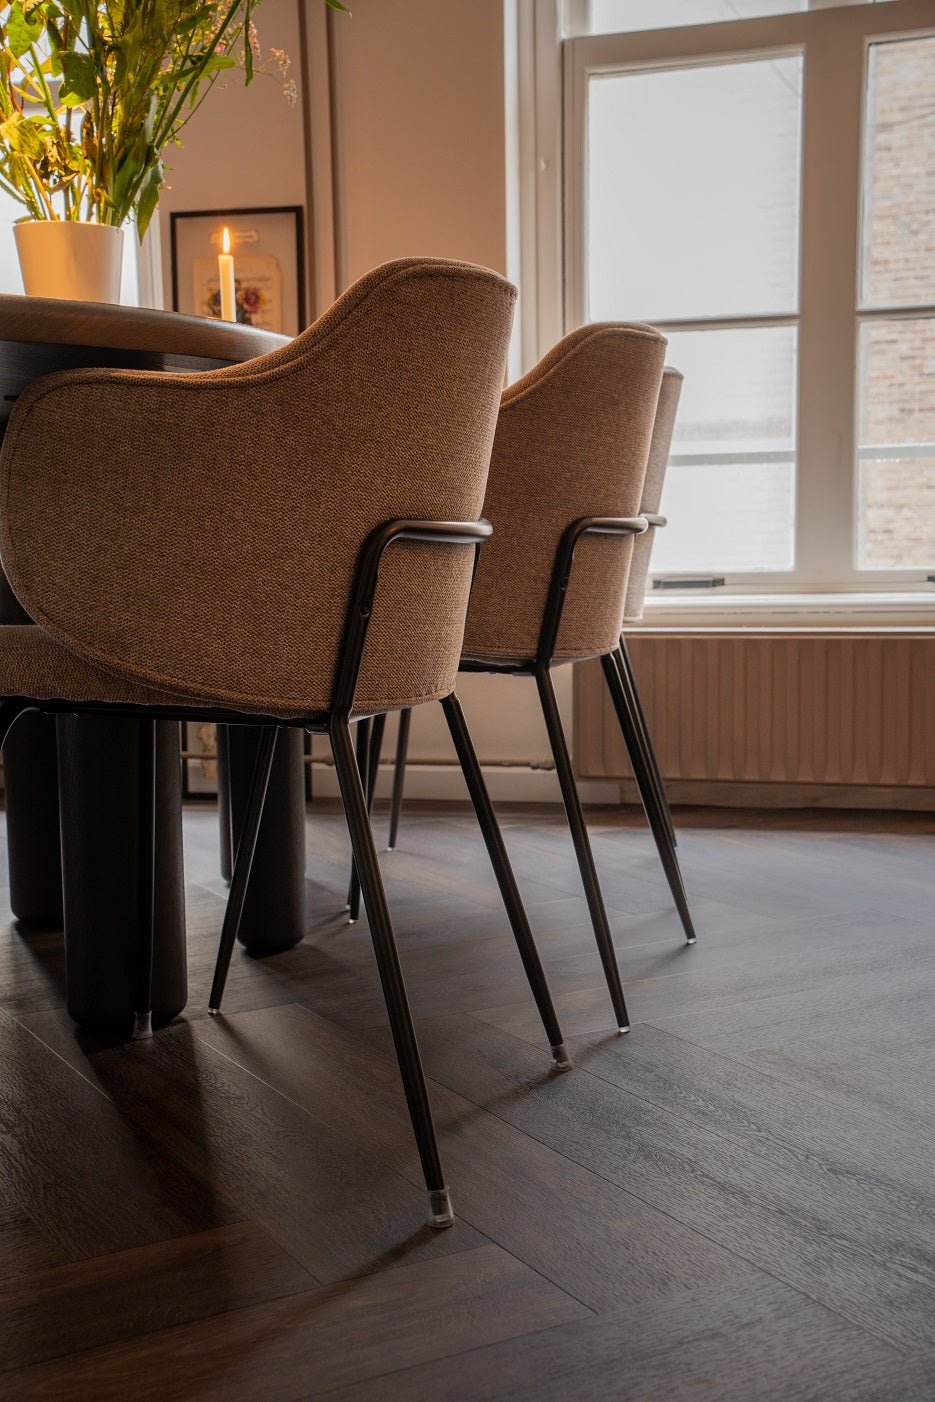
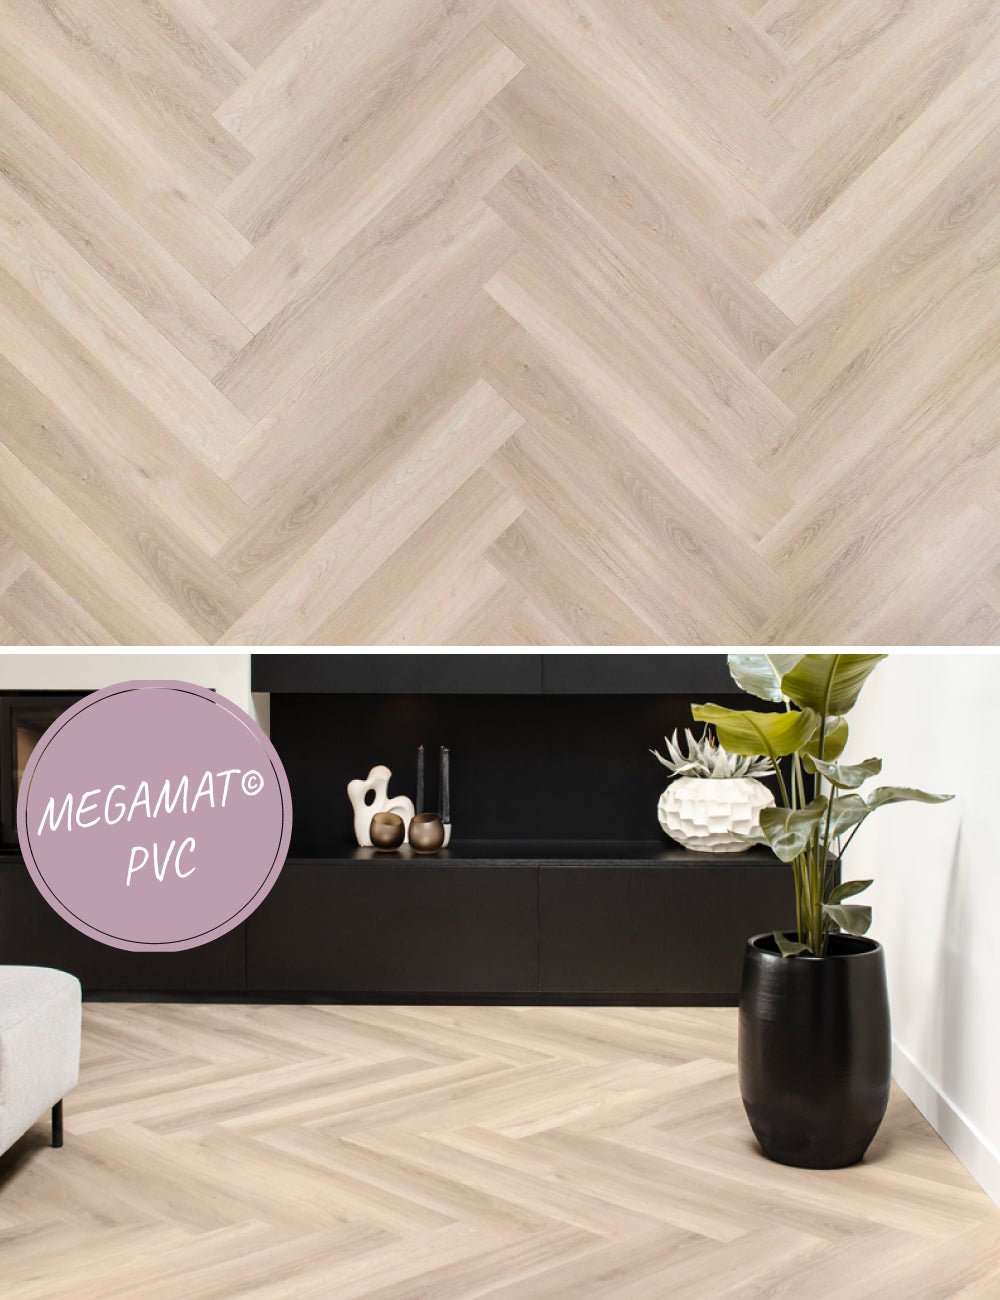
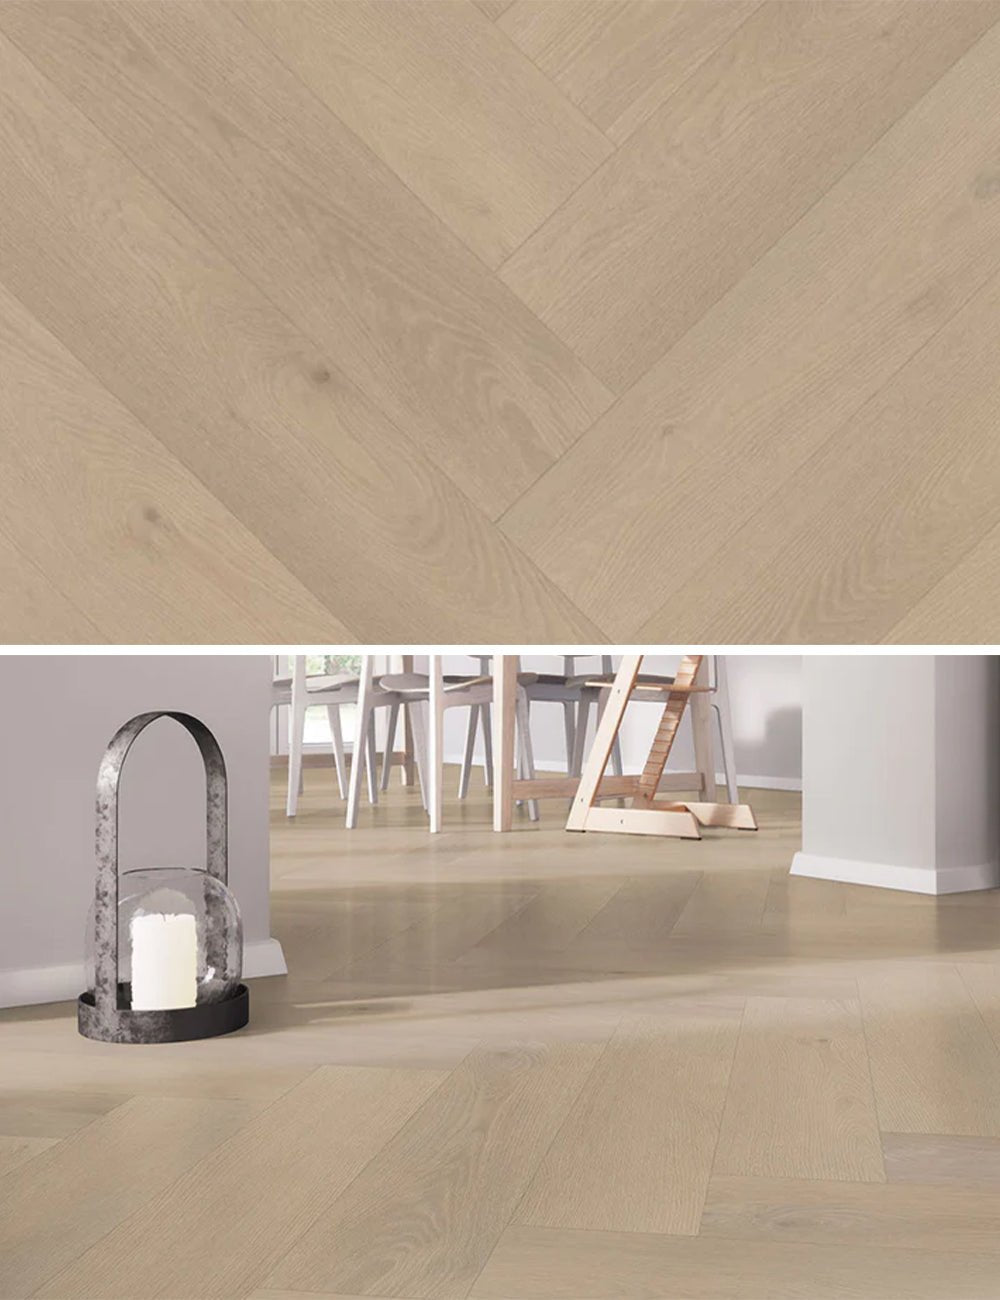
You can of course have PVC floors installed by a specialist, but installing them yourself is generally a lot cheaper. PVC floors continue to rise in popularity due to their beautiful appearance and durable qualities. If you order a PVC floor, you will often receive a lot of planks / strips at home. If you want to place it yourself, there are a number of steps you have to follow.
No experience? Use our laying service!
Although the explanation in this blog will go a long way, we still advise, if you have no experience, to leave the laying of a slab of PVC floor to a professional. At Solza.nl we have created our laying service especially for this purpose. With us it is therefore not only possible to order the floors, we also place them neatly in the space you want. That's great. Read more about our laying service here.
How to lay a slab of PVC floor step by step
An important tip for installing a PVC floor is to let the floorboards acclimatize in your home for at least 24 to 48 hours before installation. Although the PVC will not shrink or expand very much when the temperature changes, the shelves have been in a warehouse for a long time that is probably a lot colder or warmer than your home. For laying a very tight floor, this is wise to do.
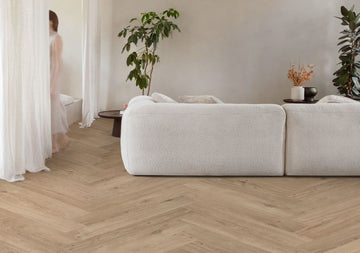
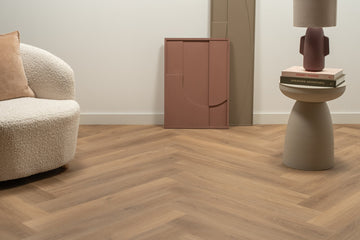
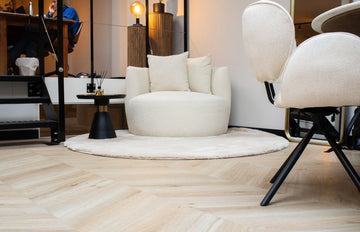
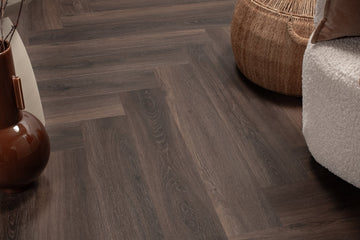
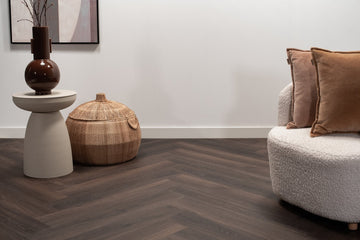
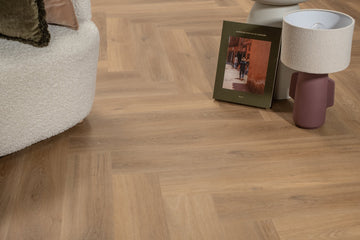
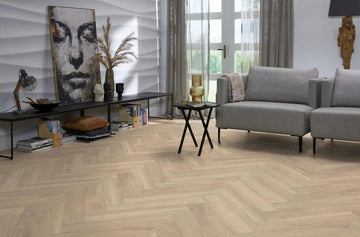
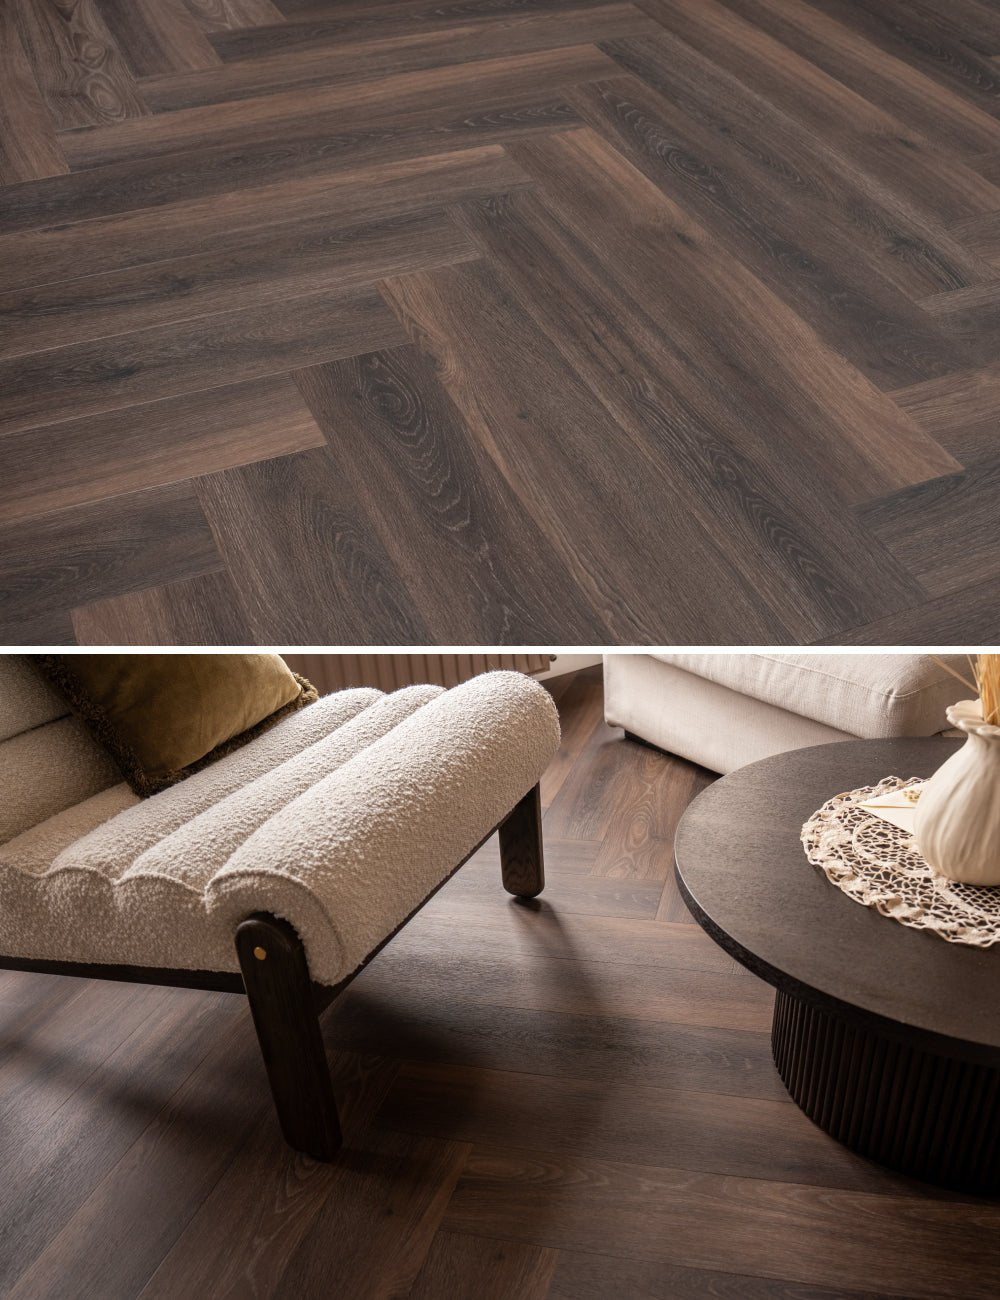
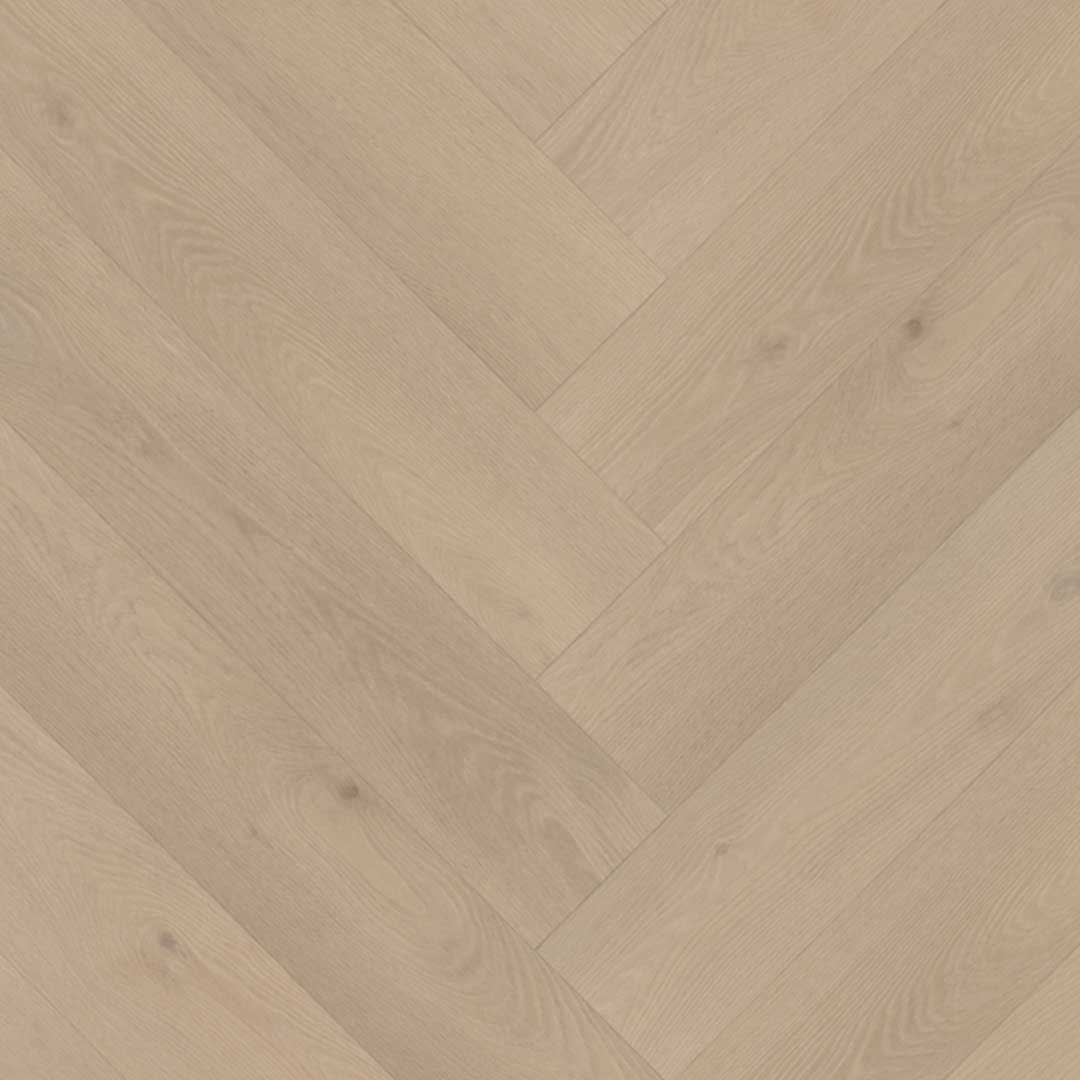
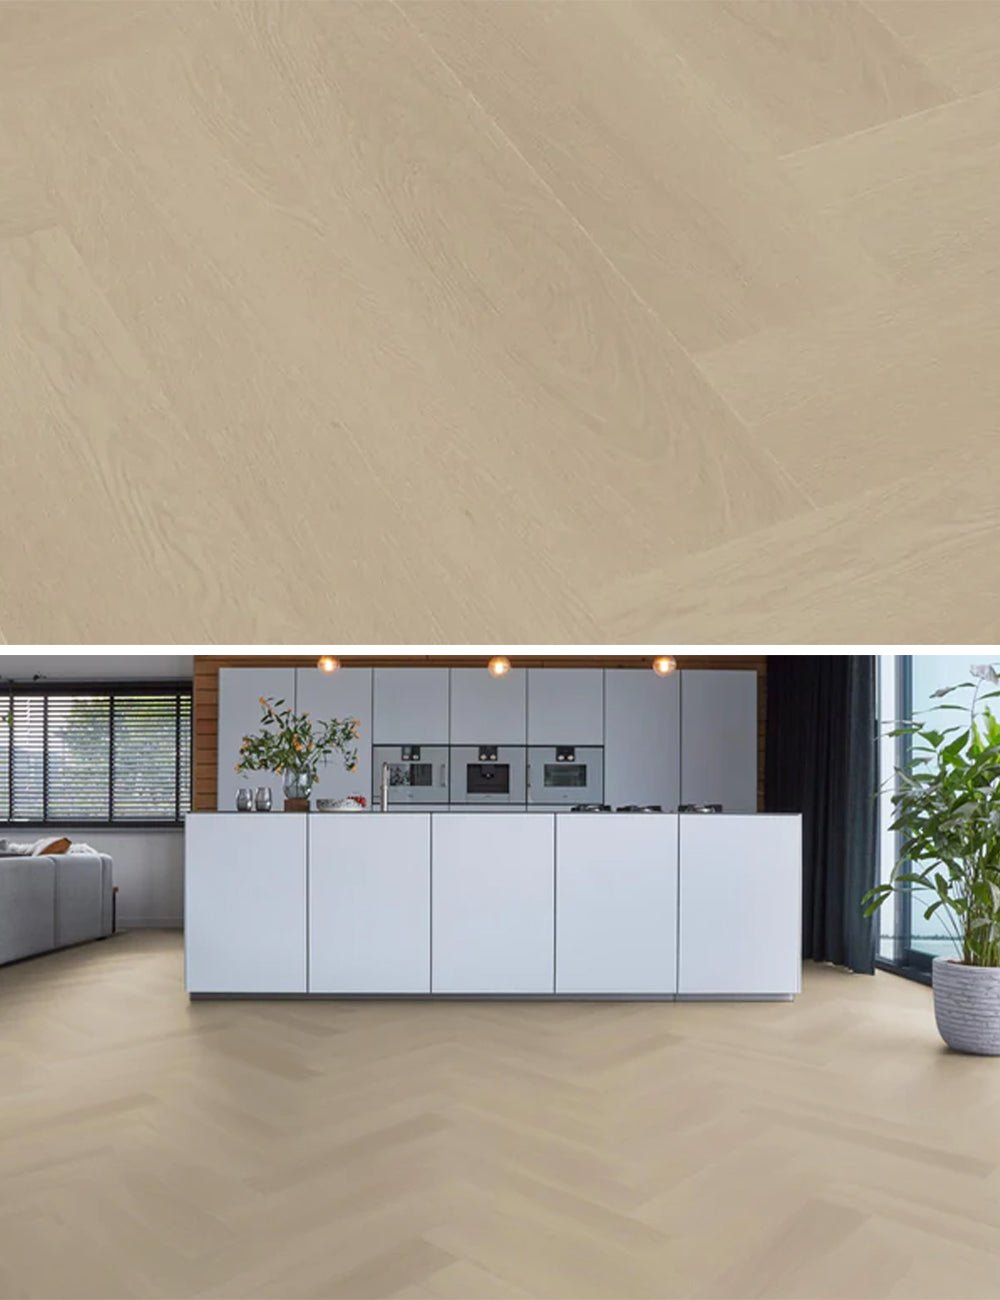
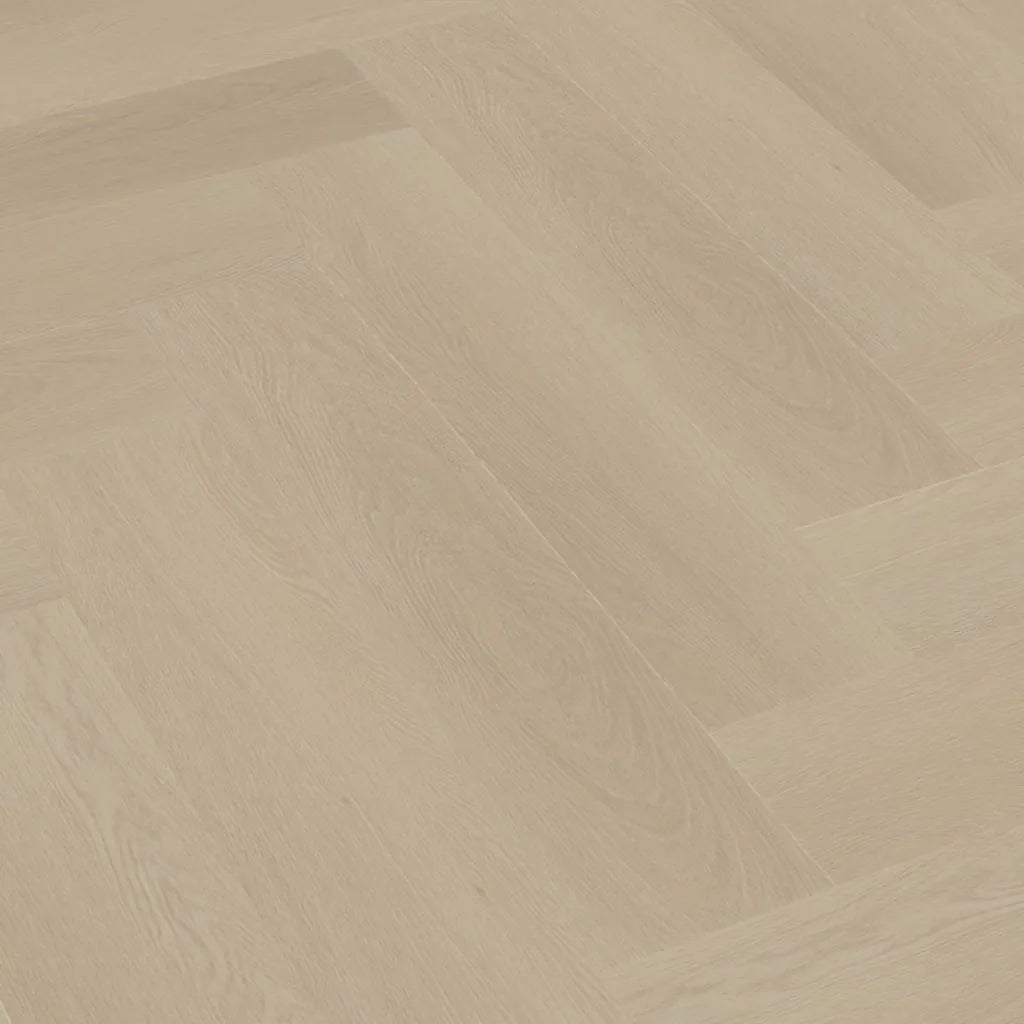
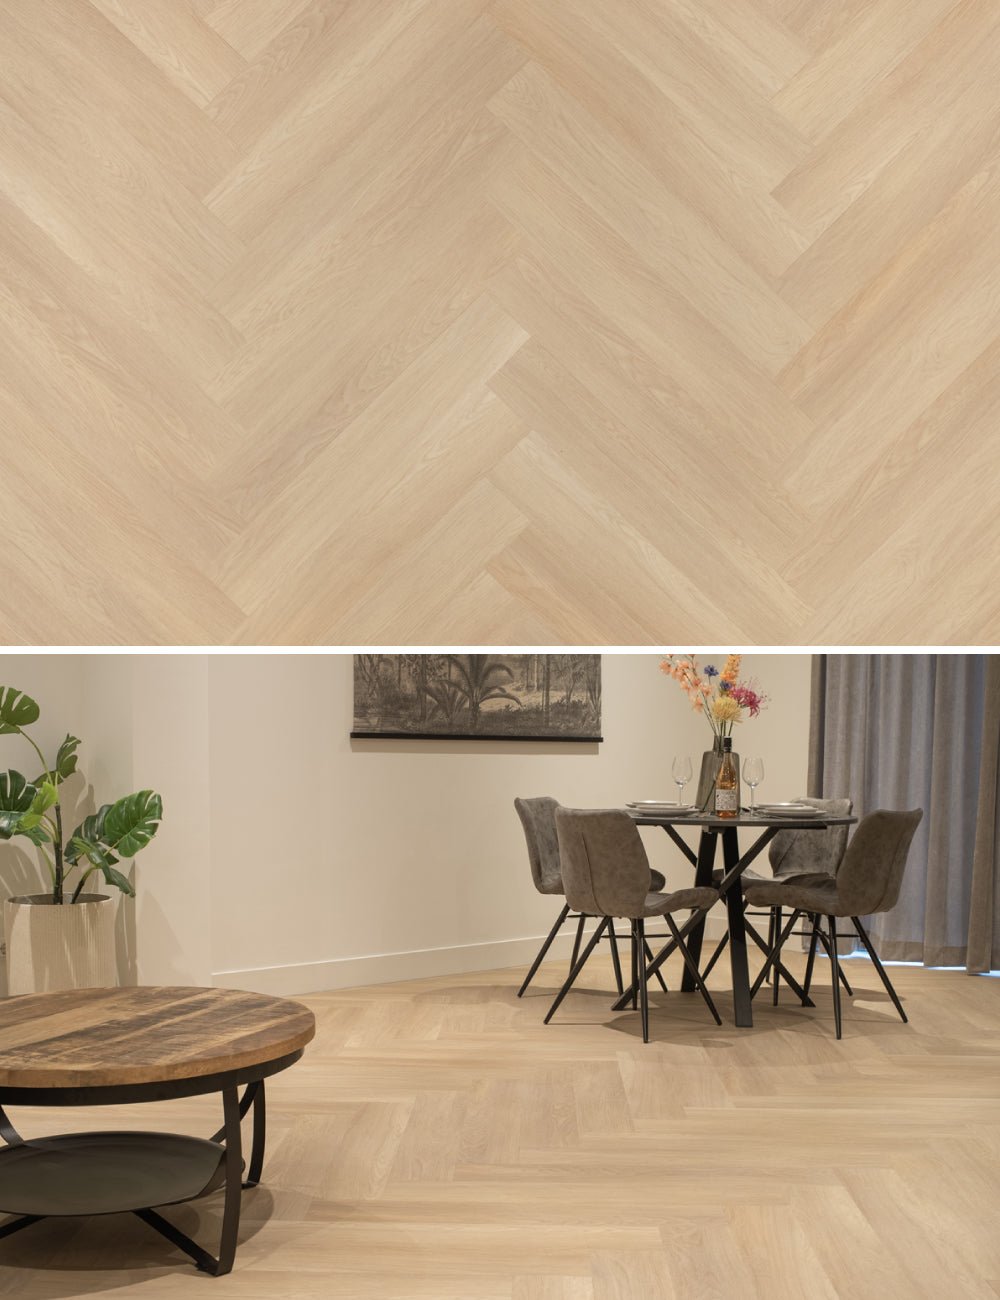
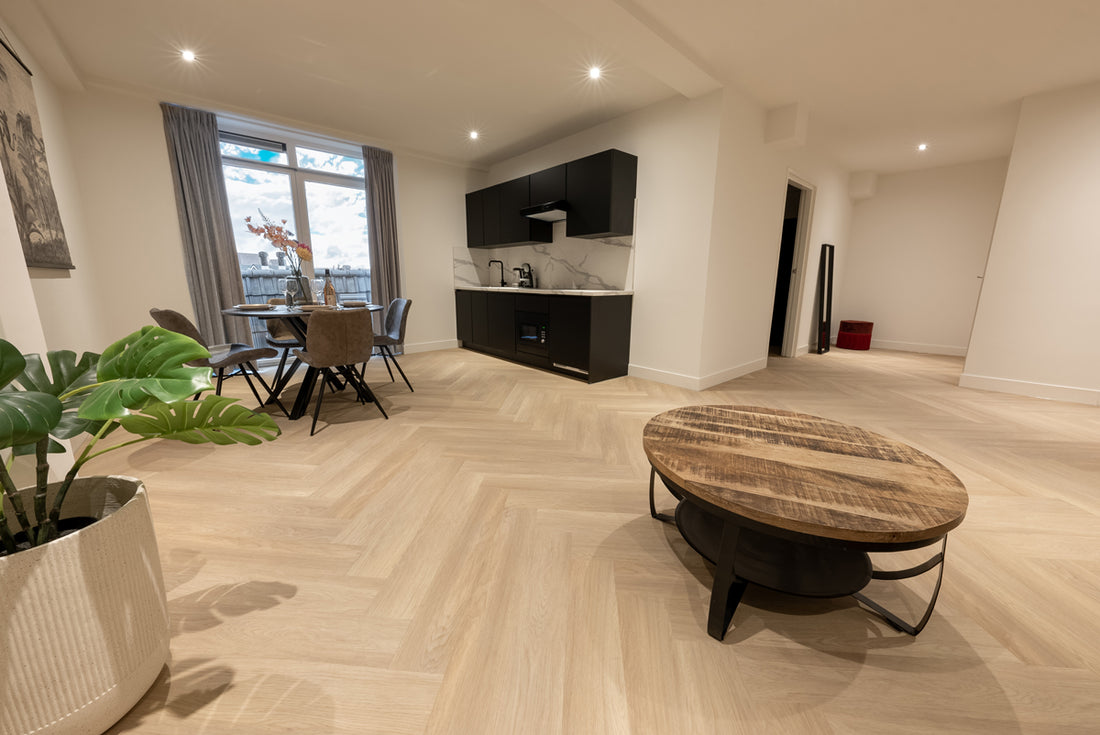
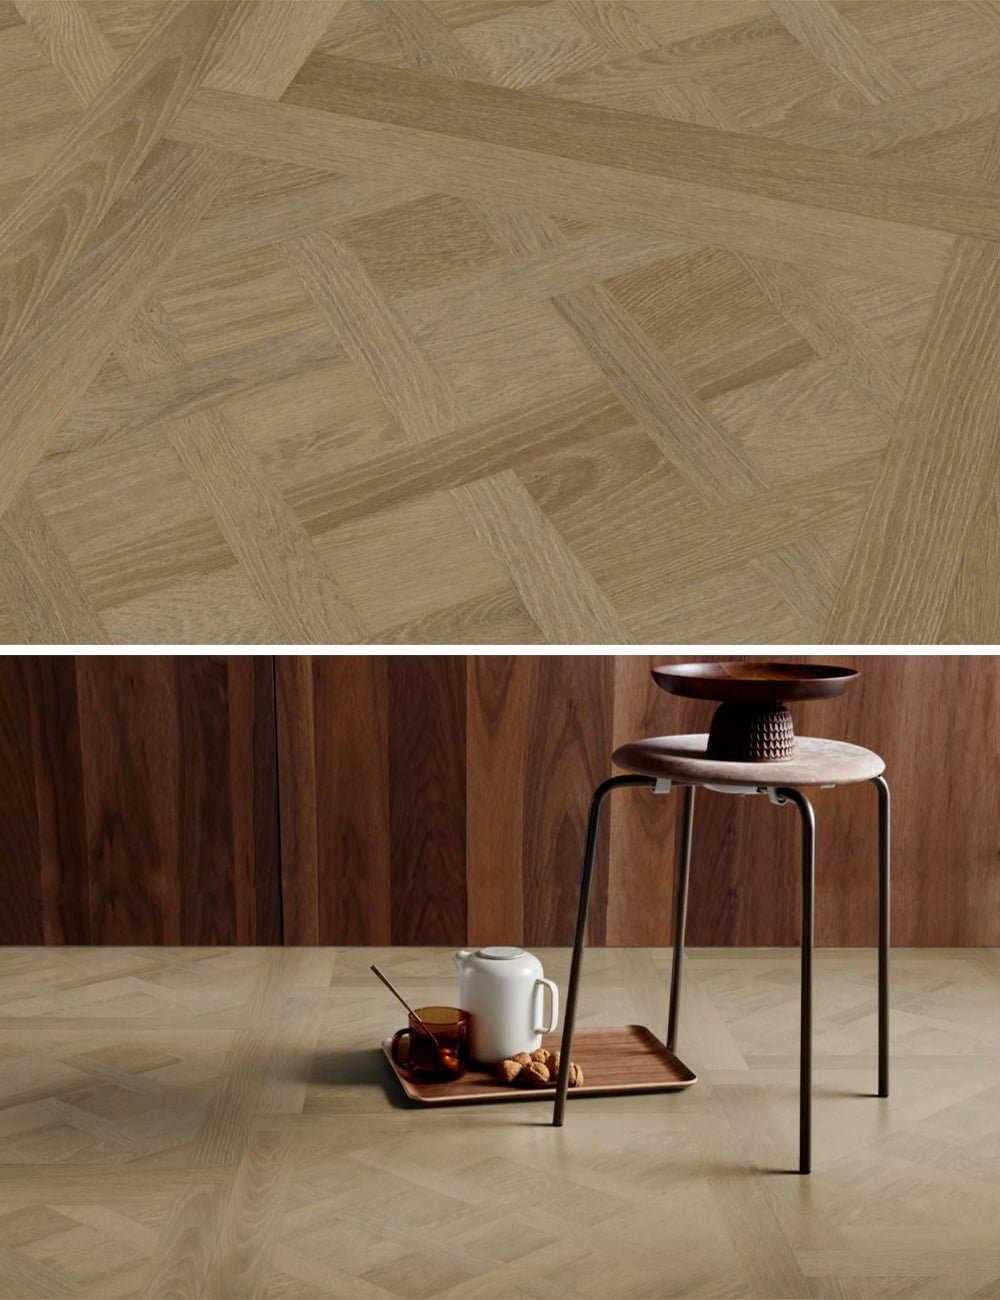
A number of different PVC floors are possible. Because you naturally get the floor in planks, you can choose the pattern yourself. For example, some people choose herringbone or whalebone and others opt for a straight slab of PVC floor.
Necessities
When laying a straight slab of PVC floor, you want to have the following things going on;
- Potlood
- Tape measure
- Thread
- PVC cutter (stanley knife also works)
- Vacuum cleaner
- Sander (grit 40)
- PVC glue
- Glue comb suitable for floors
- Roller (minimum 32kg)
- PVC floor planks
Step 1: Leveling the substrate
The subfloor of every house is different. Is the subfloor of your home not 100% even? Then it should be leveled first. This is important, because the PVC boards are quite thin and show unevenness when the entire floor is laid. After leveling, it is necessary to let your floor dry for 48 hours before installing the new floor.
Step 2: Sanding and dusting
If the floor is completely even, it must be sanded. For this you use the sander with grit 40. Smaller rooms can be sanded by hand, but of course this takes a lot longer. Sanding is important. For example, the subfloor and the egaline adhere better with the PVC adhesive floor. After sanding, you can dust the floor with a vacuum cleaner and a brush. The cleaner, the better!
Step 3: Turn off the floor
After step 1 and step 2 you can start expanding the floor. Use the tape measure to measure the floor. Then calculate the number of shelves and make sure you have at least 1/3 of the shelf left on the sides, so that you do not end up with too small residual pieces. Now that the distances have been calculated, the wire can be stretched in the middle of the room, proportionally along the wall. Along this wire you can lay the first row of floorboards. By placing a weight on these floorboards, you prevent them from moving.
Step 4: Apply glue
The floor is expanded, and you can start applying the contact glue by using the glue comb. Start from the middle and slowly work your way out. Only do this for half of the floor. Use a special glue comb suitable for PVC floors. The depth of the teeth are optimal for placing this floor. Wait 20 minutes to install the floor after application for the best adhesion.
Step 5: Laying the floor
Then you can finally start laying the floor. Stick the PVC floor strips tightly together. These can also be placed tightly against window frames. The space that remains between the window frames and the floor can be sealed. After laying one half, you can then repeat step 4 and step 5 for the other half.
Your PVC floor is ready!
The floor is now fixed! It is best to roll the floor well with a heavyweight, of at least 32 kilos, after installation. For this you make sure that the glue is very well stuck under the floor and that it no longer goes anywhere. Then you can vacuum and clean. Congratulations! You have now laid a very tight PVC floor and can continue to enjoy the beautiful end result of your straight slab PVC floor for years!


